
“Take a Test” is a new testing feature added to the Online Testing System in May of 2018.
Note: The test taker must be running the latest version of Windows 10 Professional, Enterprise, or Educational editions. Windows 10 Home Edition is NOT compatible with the Take A Test feature. Please see the system requirements page for more information. Microsoft also has technical information regarding this feature on their help system.
How to use this feature:
- Click the slider labeled “Take a Test secure testing mode disabled.” next to any test launch area or on the test taker login page.
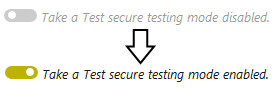
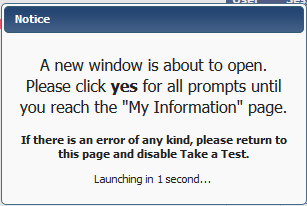
Note: If this slider does not appear on the web page, your system is not compatible with Take a Test. - When the slider is enabled, a test will show this popup:
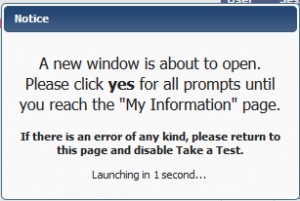
- After 3 seconds, a system dialog will open asking if you would like to open this link.
Firefox: Chrome: 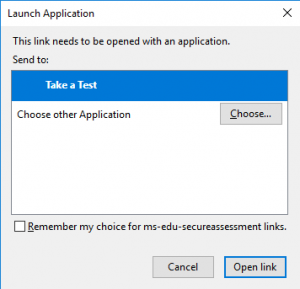
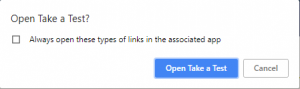
Click “open link”.
Note: If you instead see a message saying “Look for an app in the Microsoft Store…”, your system is not compatible with Take a Test.
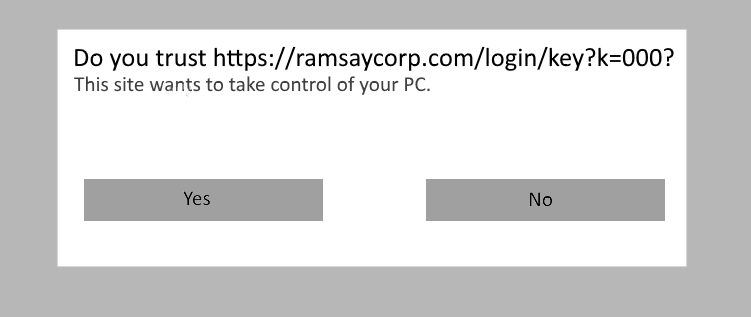
- Next, a screen will appear with this prompt:
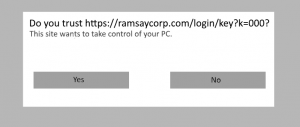
Click yes.
- Now, the computer will be locked down and a test taking environment will launch. The test can be taken normally from here.
Upon completion, the test will NOT automatically close until the user clicks “Exit & Logout.” Otherwise, the test may be exited at any time using Ctrl+Alt+Delete.


Why should I use this instead of the regular in-browser testing mode?
This adds an extra layer of security to the test. Unfortunately, there are limitations to the security on an in-browser test that provide inevitable possibilities for cheating. Using Take a Test, your test takers will have absolutely no access to any other tools on the computer (except accessibility options, like on-screen keyboard).